Most clients see two things: a drawing, and a finished sign on their building. What happens between is where the quality is either built in or lost. Here is the full sequence.
1. Survey and brief
Before anything is drawn we need the site. Fascia dimensions, substrate material, existing fixings, available power, access constraints and the elevation photographs that tell us what the sign has to sit alongside. We also need the lease signage criteria and the applicable bylaw.
Skipping this step is how signs end up too large for the permitted area, or fixed into a substrate that will not hold them.
2. Design and drawings
Concepts are drawn against real material sizes, standard return depths and actual fixing methods. A design that requires a 3.5" return when coil comes in 3" and 4" is a design that will quietly change during fabrication.
The output is a scaled drawing set showing elevations, dimensions, materials, colours, illumination and fixing detail — enough for you to approve, for the landlord to review and for the municipality to assess.
3. Approval and permitting
Nothing is cut until the drawing is signed off. This protects both sides: you get what you approved, and we are not absorbing the cost of a change of mind halfway through fabrication. Permit submission runs from this same drawing set.
4. Material release and cutting
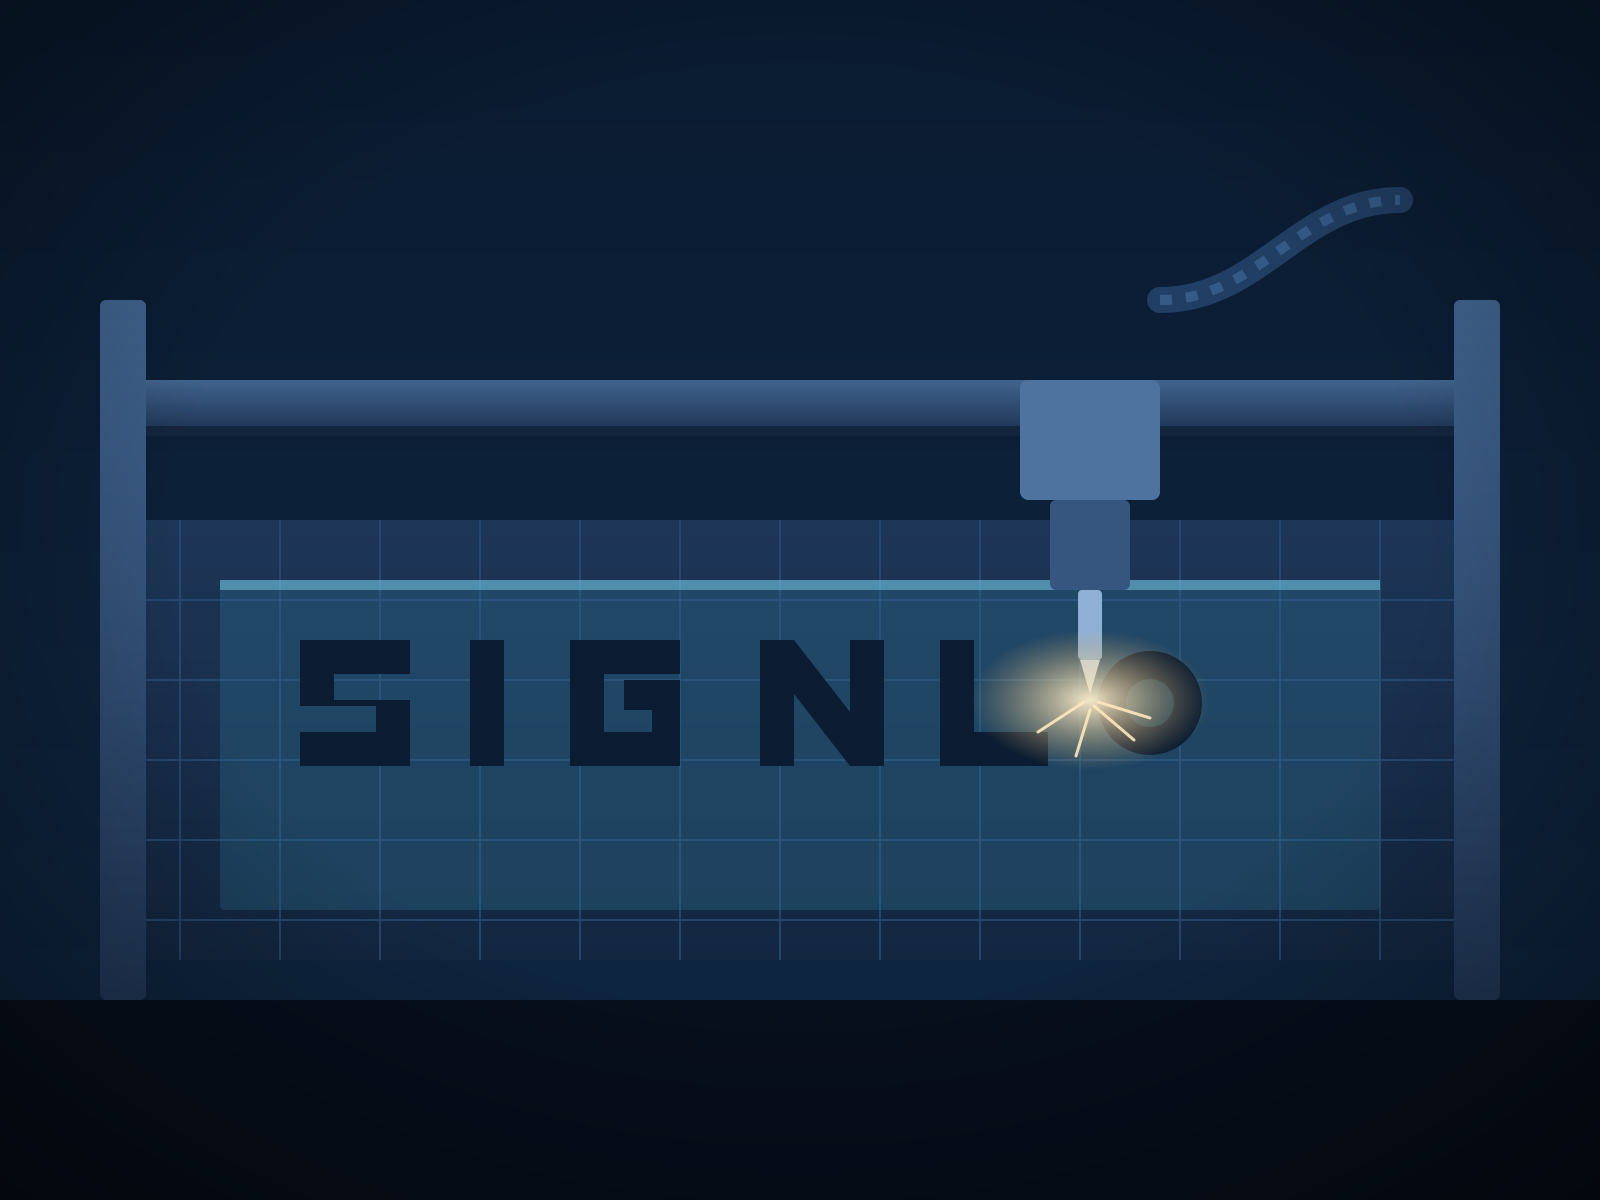
Sheet goods and extrusions are pulled and checked against the drawing before anything is cut. Faces and backs go on the CNC router, cut straight from the approved vector file so the letterforms are exactly your typography rather than a redrawn approximation.
First-off inspection happens here — the first letter is checked against the drawing before the rest of the run proceeds.
5. Forming and welding
Aluminium coil is cut, notched and formed on the bender to follow the letter profile, including tight interior curves. Returns are welded to backs, and the seams are dressed so there is no visible joint under the finish.
This is the step where cheap fabrication shows up later. Taped returns hold for a couple of years and then open up.
6. Preparation and finishing
Everything is degreased, prepped and primed before topcoat. Colours are matched to your references and sprayed in a controlled booth — not brushed or rattle-canned in a corner of the shop. Interior surfaces of illuminated cans get a high-reflectance white coating before any electrical work.
7. LED build-up
Module layout is calculated against return depth and face material, not eyeballed. Modules go in, wiring is run in labelled circuits, and every point where a wire passes through the can is gasketed and sealed.
Drivers are sized with headroom — running at around 80% of rated capacity substantially extends their service life.
8. Assembly and quality control
Faces are trim-capped and fitted. Each unit is powered up on the bench and inspected for uniform output, correct colour and any visible hot spots. Dimensions are checked against the drawing one final time.
This bench test is the step that catches the wiring faults which would otherwise become a service call three weeks after handover.
9. Pattern and crating
A full-size layout pattern is produced so the install crew can set the letters out accurately on site. Units are crated with the pattern, the fixing hardware and the drawing set.
10. Installation
The crew works from the same drawings the shop built to. Layout is set out and checked for level and centring before a single hole is drilled. Fixings are chosen for the actual substrate, penetrations are sealed as they are made, and the electrical termination is coordinated with a licensed electrician.
Then a clean-down, a site tidy and a photographic handover record.
Why doing it in one building matters
Every handoff between suppliers is a point where information is lost and schedule slips. When the designer can walk twenty steps to look at the letter being welded, an awkward detail gets resolved in an afternoon instead of over a fortnight of emails. That proximity is not sentimentality — it is the quality control system.